The concern seems to start here, with step one, where we sew the small triangle basket bases to the side rectangles.
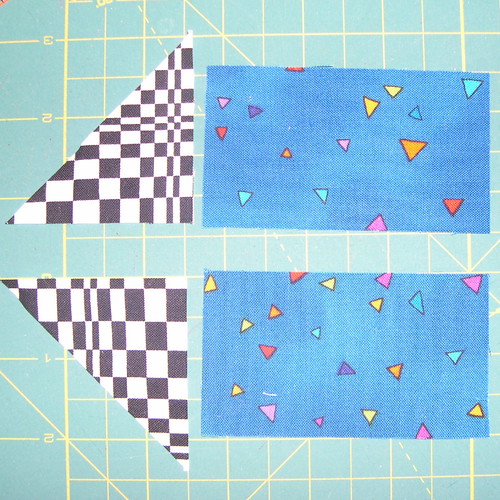
The rectangles are 2 inches wide; the triangles are cut from 2-3/8 inch squares cut diagonally. Can that be right? How can they match? Yes. The quilt match that you need to remember is that while you add 1/2 inch to the finished size of a square or rectangle for seam allowances, you add 7/8 inch to a half-square triangle or 3/8 inch MORE.
So, you put these pieces together like this before you sew.
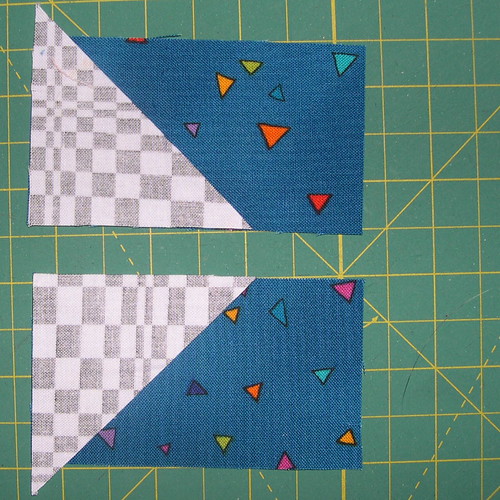
As you are sewing along, you'll notice that your seam begins or ends at the point where the diagonal of the triangle crosses the end of the rectangle.
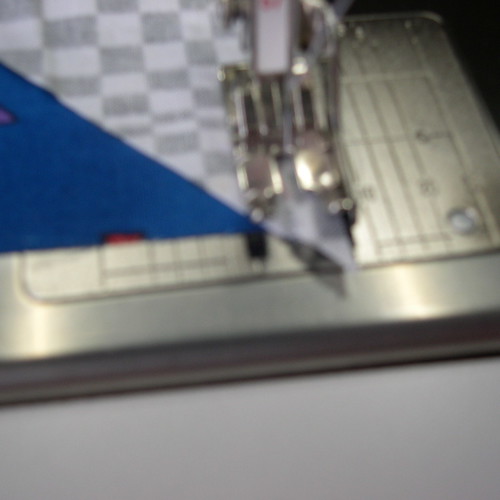
(Sorry for the less than stellar focus on this one, but hopefully you can see what I mean here).
Press the seams toward the rectangles.
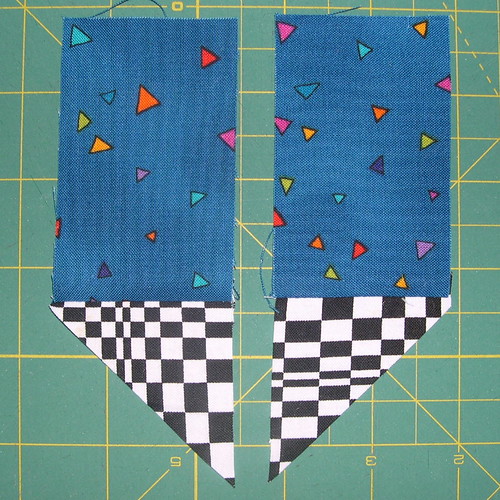
The strips fit on each side of the large basket triangles.
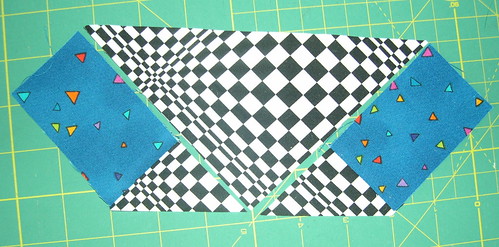
The pieces align, in a similar way, offset slightly, so that when you sew them, your 1/4 inch seams start and end at the intersections. It sounds a little tricky, but it's actually quite elegant.

Sew one side, press toward the large basket triangle, then repeat on the other side.
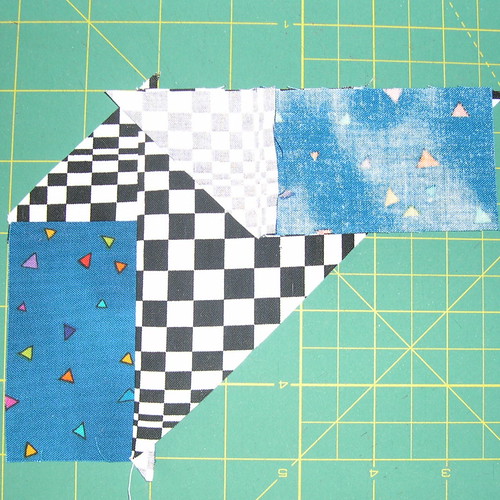
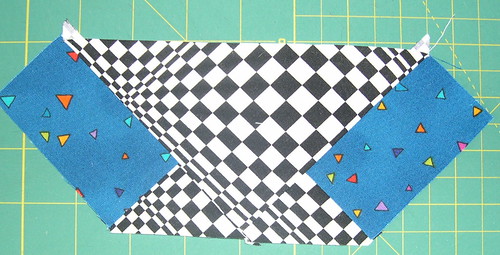
When both sides are attached, you should have a nice straight line across the bottom.
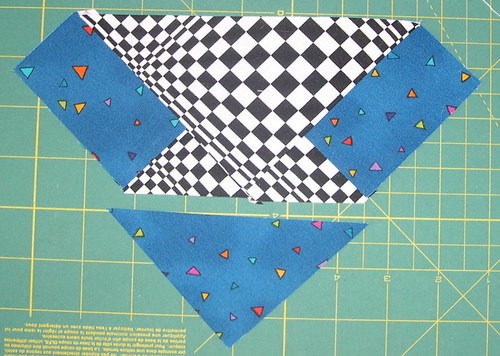
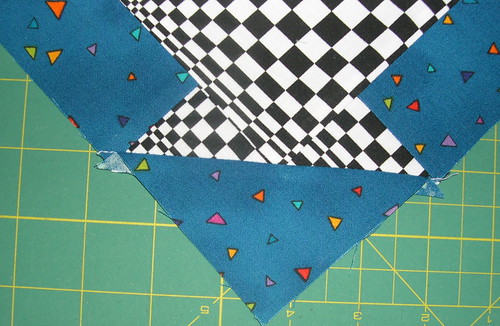
The bottom triangle will overhang slightly on each side, intersecting at the point where you sew the 1/4 inch seam. See? I'm telling you. It all fits. It's very elegant.
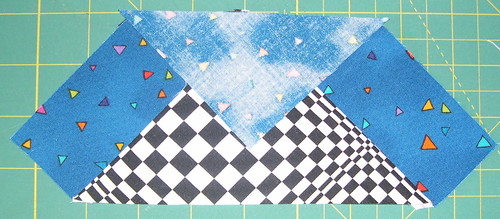
This next picture is a BAD example. You DON'T want this result. You SHOULD end up with 1/4 background extending PAST the basket base triangles--so the points won't be cut off when you sew the block into a quilt. I fixed the block afterward, but thought a bad example was worth sharing. Remember THIS is what YOU DON'T WANT.
Unless you are choosing the hand embroidery option for the handle, you must add the handle to the background triangle before you add it to the bottom of the basket.
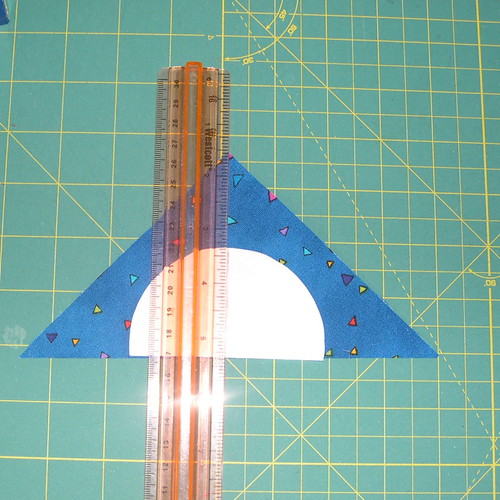
Please use the template provided in Janet's pattern--it will help make all of our basket blocks play nicely together in the winners' quilts. (If you are one of the winners, you'll really want this ;-) I used a ruler to help me make sure I was centering the template, then traced the circle onto my background fabric.
Then I used a glue stick to stick my baby rickrack in place before stitching it down. I thought it was a lot easier than pinning.
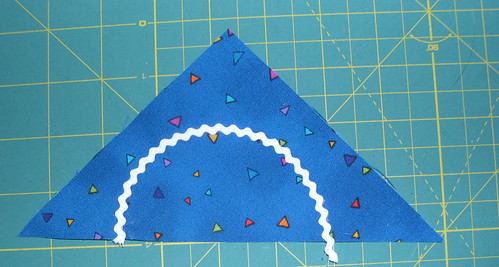
Then, after it was sewn, I trimmed the excess rickrack even with the bottom edge of the triangle.
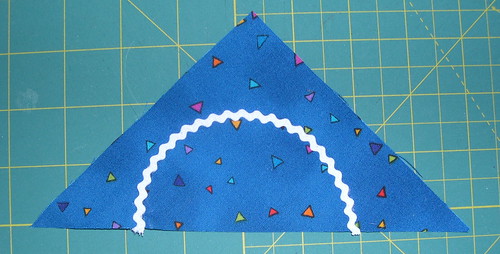
After the handle is attached, you can complete your block.

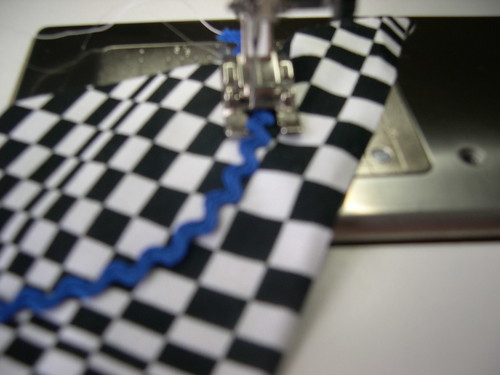
Note, on my second block I made (with a blue basket with blue rickrack handle), I didn't have any matching thread handy, so I used mono-filament and a zig-zag stitch.
Please, don't be afraid of this block. Cut your fabrics carefully and try a pair of blocks. They are so charming and you'll feel so accomplished when you've made your blocks.

A picture (or ten!) that is worth a thousand words -- excellent clarification... and my sister picked out another b/w print in case I find time to try again ;)
ReplyDelete